1) First to do is open your photoshop.I think this case enough tricky, because I've tried to download this software several times and almost made me frustrated :|

2)Second,create a new sheet document file by clicking the menu File -> New, then the display appears as the below and please customize the size as well :

3)Next,change the canvas color into black, you try to find foregound tool and if it is colored black then the way is just press Alt + Backspace

4)Then,Create a new layer, by clicking the menu Layer -> New -> Layer or you can also use the shortcut Shift + Ctrl + N or can also click on the New Layer icon at the bottom right, so we now have a new layer as shown the as display:

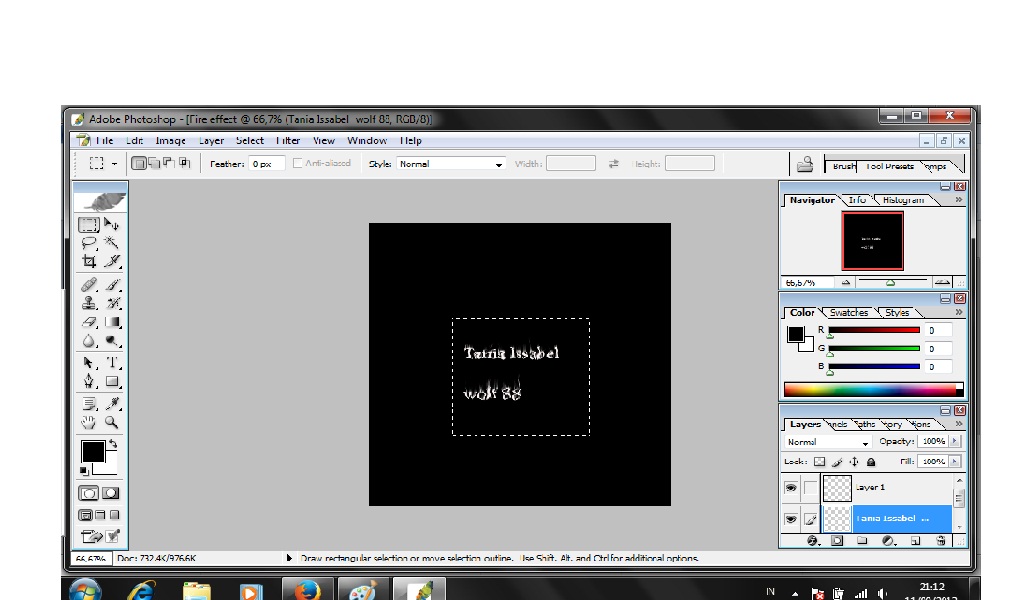
5) On the selected layer (which we have previously made), create a new text, by selecting the Horizontal Type Tool in the Toolbox and then type a free text and color to any color white, so it looks like as will appear:


6) After that click on the move tool and click outside the worksheet area, Rotate the canvas by 90 degrees, with the click menu Image -> Rotate Canvas -> 90 ° CW so it will look something like this:

7)Add a effect, the way is Filter -> Stylize -> Wind and then click OK that would emerge the Wind Window.


8)In the Wind Window that appears, select the part of Method and at the Direction
choose From the Left select and then click OK.

9)Return the position of the canvas to its original position, by clicking Image -> Rotate Canvas -> 90 ° CCW that will appear as follows:

10) Now add another effect with the click Filter -> Distort -> Ripple as as:

11) Ripple on the window that appear, the contents Amount is 100% and Size: Medium and click OK, as shown in the as display:

12) After adding a ripple effect and Wind effects now display the text will be changed to the following:
13) Now we stay a little longer to make colored fire effects that change prior to Grayscale the image mode, the way is click Image -> Mode -> Grayscale and click Flattern, as shown in the as display:


15) The final step is change the mode to Color Table by clicking Image -> Mode -> Color Table as:

16) In the Color Table window that appear, select Black Body then click OK as shown in the as display:

17) It is now a text with a fire effect the final result as shown in as display:

Tidak ada komentar:
Posting Komentar